Okay, so the truth is that they didn't steal any ideas from me or my team that worked on this project last year (obviously...)
Anyway, for my final year project I joined a team of six people and put together a program called "Game Creature Designer" (and yes, the title needs some work).
For those of you who've used the Spore Creature Creator, the program we made was basically that but in 2D.
The user would connect to a server set up to handle connections by this program.
Then you'd have a choice of editing "parts" or creating a "character".
A "part" could be anything. Most of the time though it was a torso, arm, hand, head or something along those lines.
Essentially, a "character" is a collection of "parts".
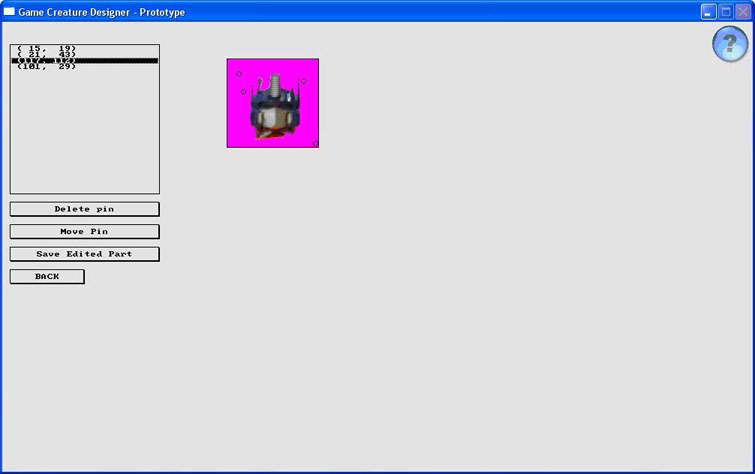
When you access the part menu, you can either choose to load a part from the server, or create a new part from a bitmap file.
Once you've loaded the file, the part editor appears along with the image that represents the part.
From the editor you can add "pin joints" which essentially means the points on which you can attach other parts. The first of these points is called the "anchor point", the point on which each part will rotate around.
Let me give an example, say you have an image of an arm.
To work out where the pin joints are, think about how your own arm works. When you lift it, your arm moves but your shoulder stays in the same position.
This means that our anchor point should be on the shoulder.
There could be other points on the arm as well. It all depends how detailed you want your character to be.
We can just add a single point at the shoulder and another at the wrist, where the hand will attach itself to. We could go crazy and add another point somewhere on the shoulder to add some kind of shoulder guard and another on the forearm for some kind of wrist guard. The complexity of the character is only limited by how much effort you want to put into it.
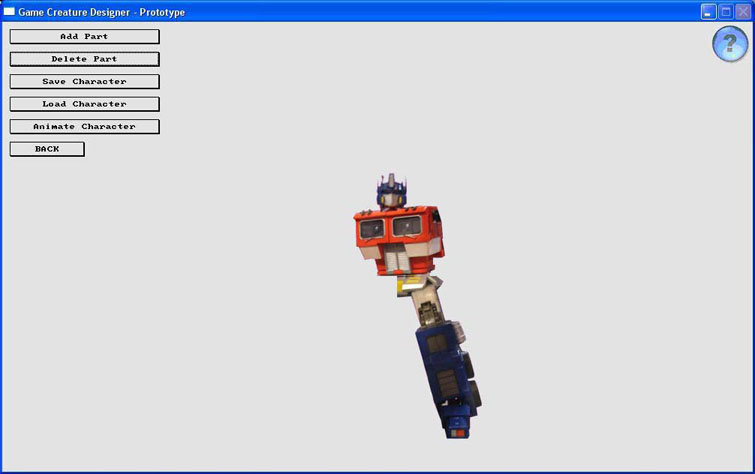
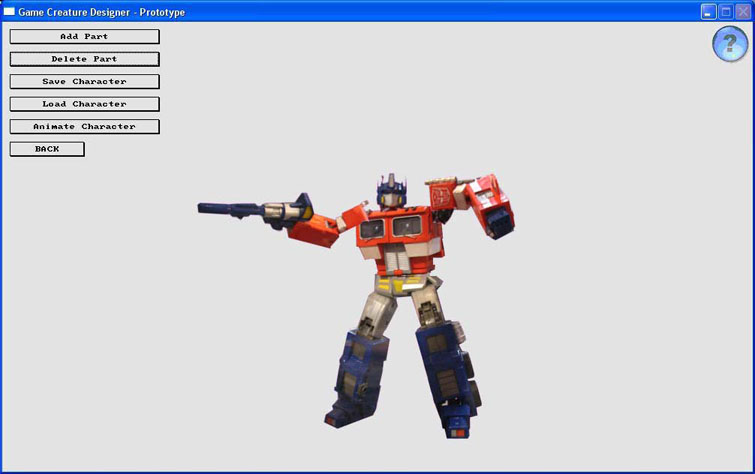
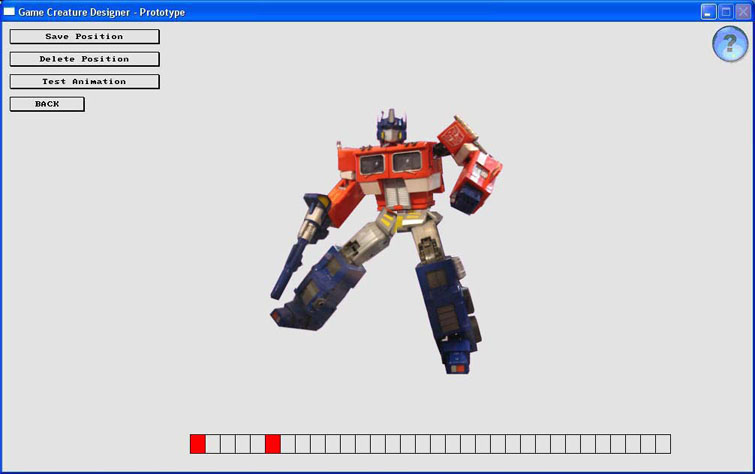
On to the character designer now. Like I said earlier, a character is a set of parts.
When we start the character editor, we're given a list of parts stored on the server.
We choose a part which then becomes our "base part". Usually this will be a torso or the main body part of whatever creature you're making.
We then attach more parts to the pin joints of parts already on the screen.
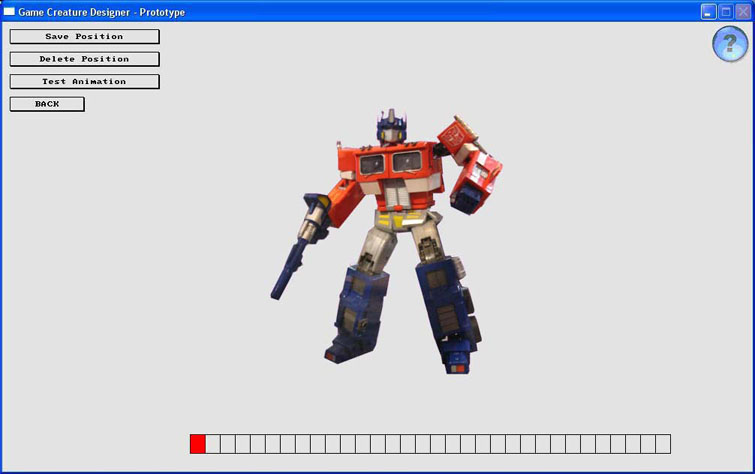
Once we've put the character together, we can animate it! This is the most fun part. :)
Animating is quite simple. It's exactly like the frame bar in graphics programs like 3DS Max and other 3D applications. You set the number of frames and the time between each frame. Then you set "key frames". Key frames are basically points in time where the character needs to match a position that you set.
When you press play, the program looks at the time to the next frame and tweens or lerps each part accordingly.
My first animation you ask?
A tauren doing a cartwheel.
It was 2AM in the morning.
And I'd gone a little bit crazy. :)
This manual was pretty huge. I have to thank Lindsay for compiling it all. While I did most of the programming, Lindsay was working tirelessly formatting every paragraph and proof reading til the early hours of the morning.